 WORK
REEL
ABOUT
RESUME
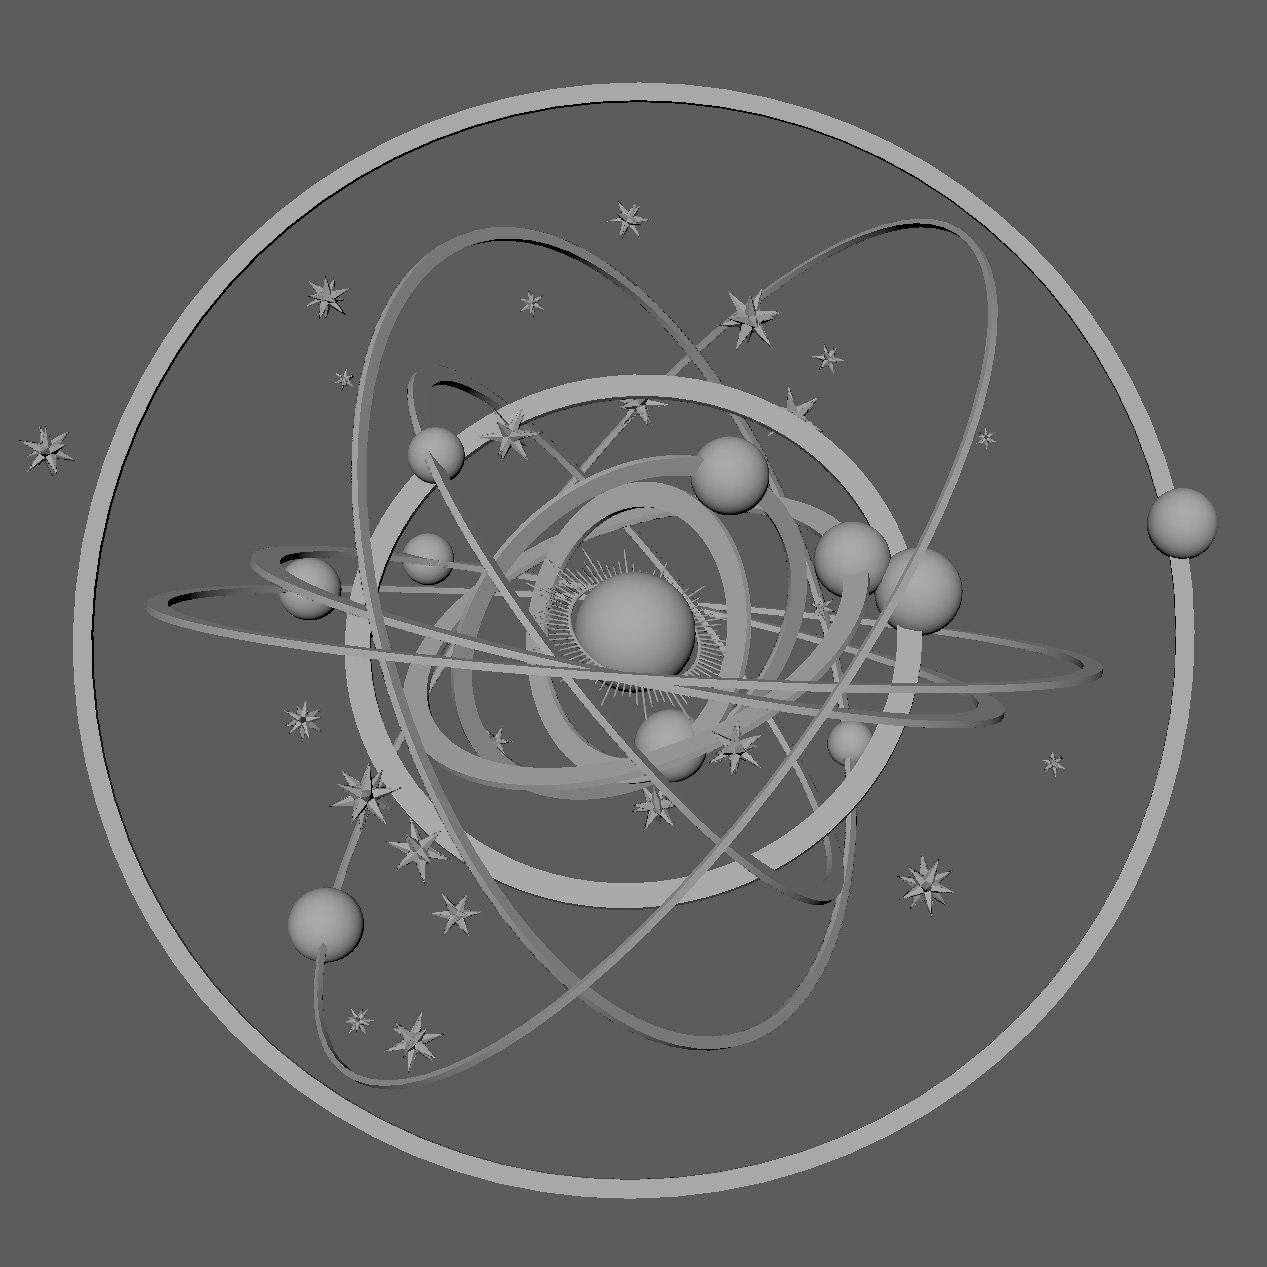
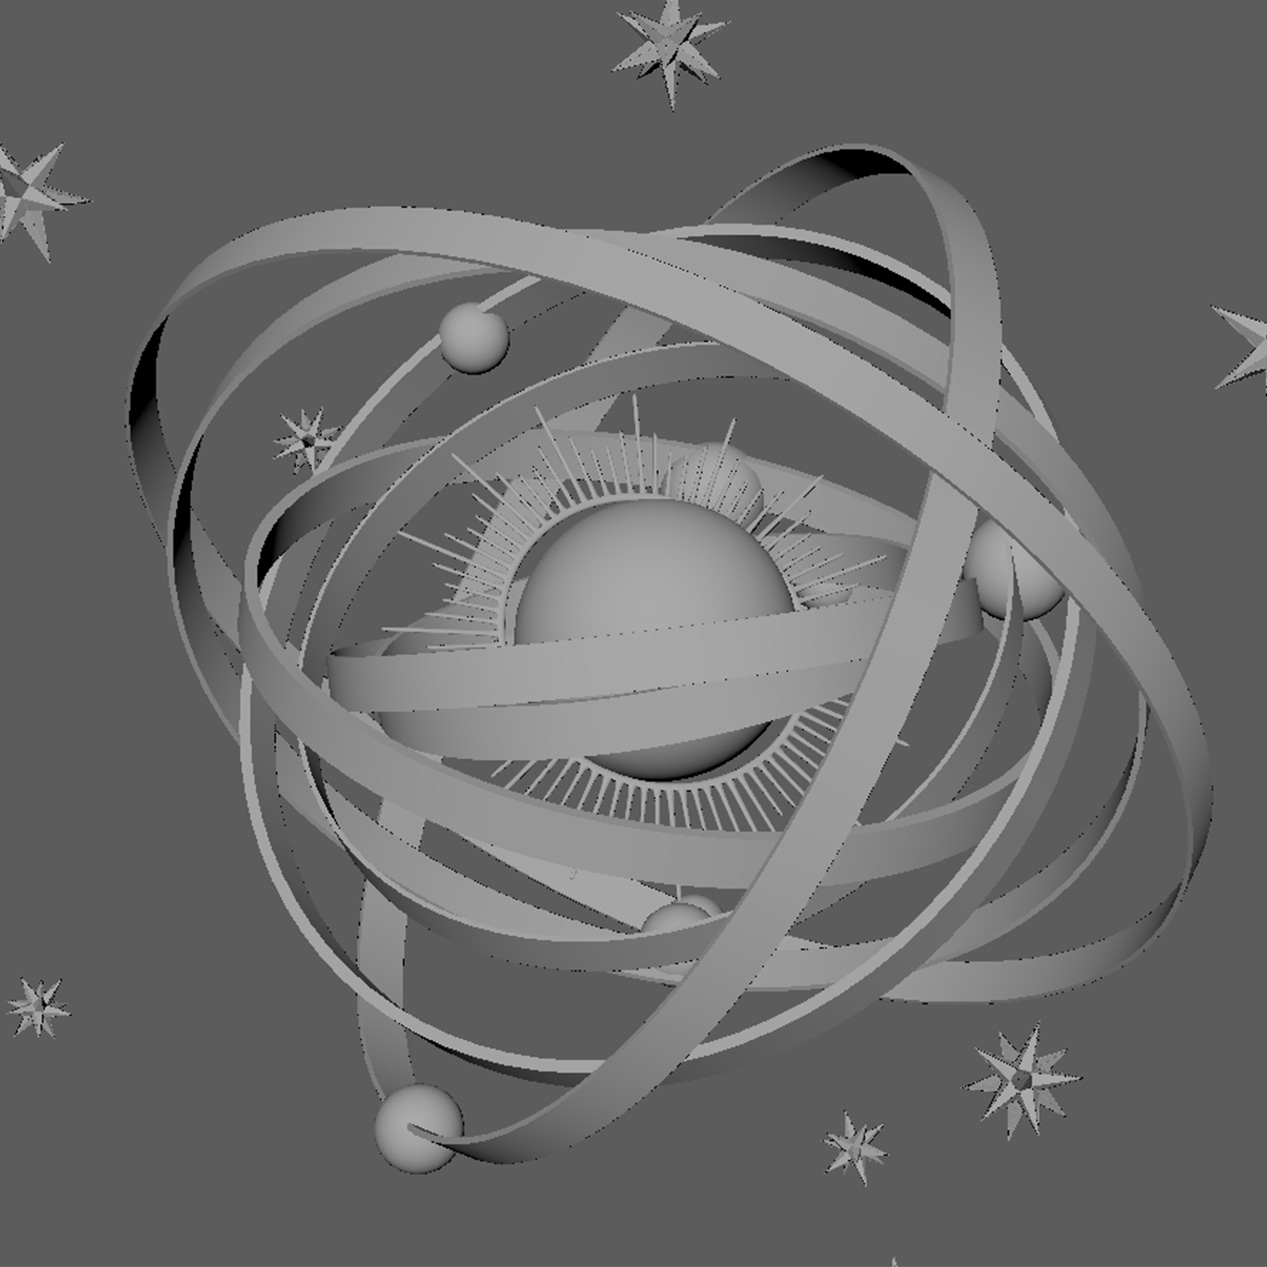
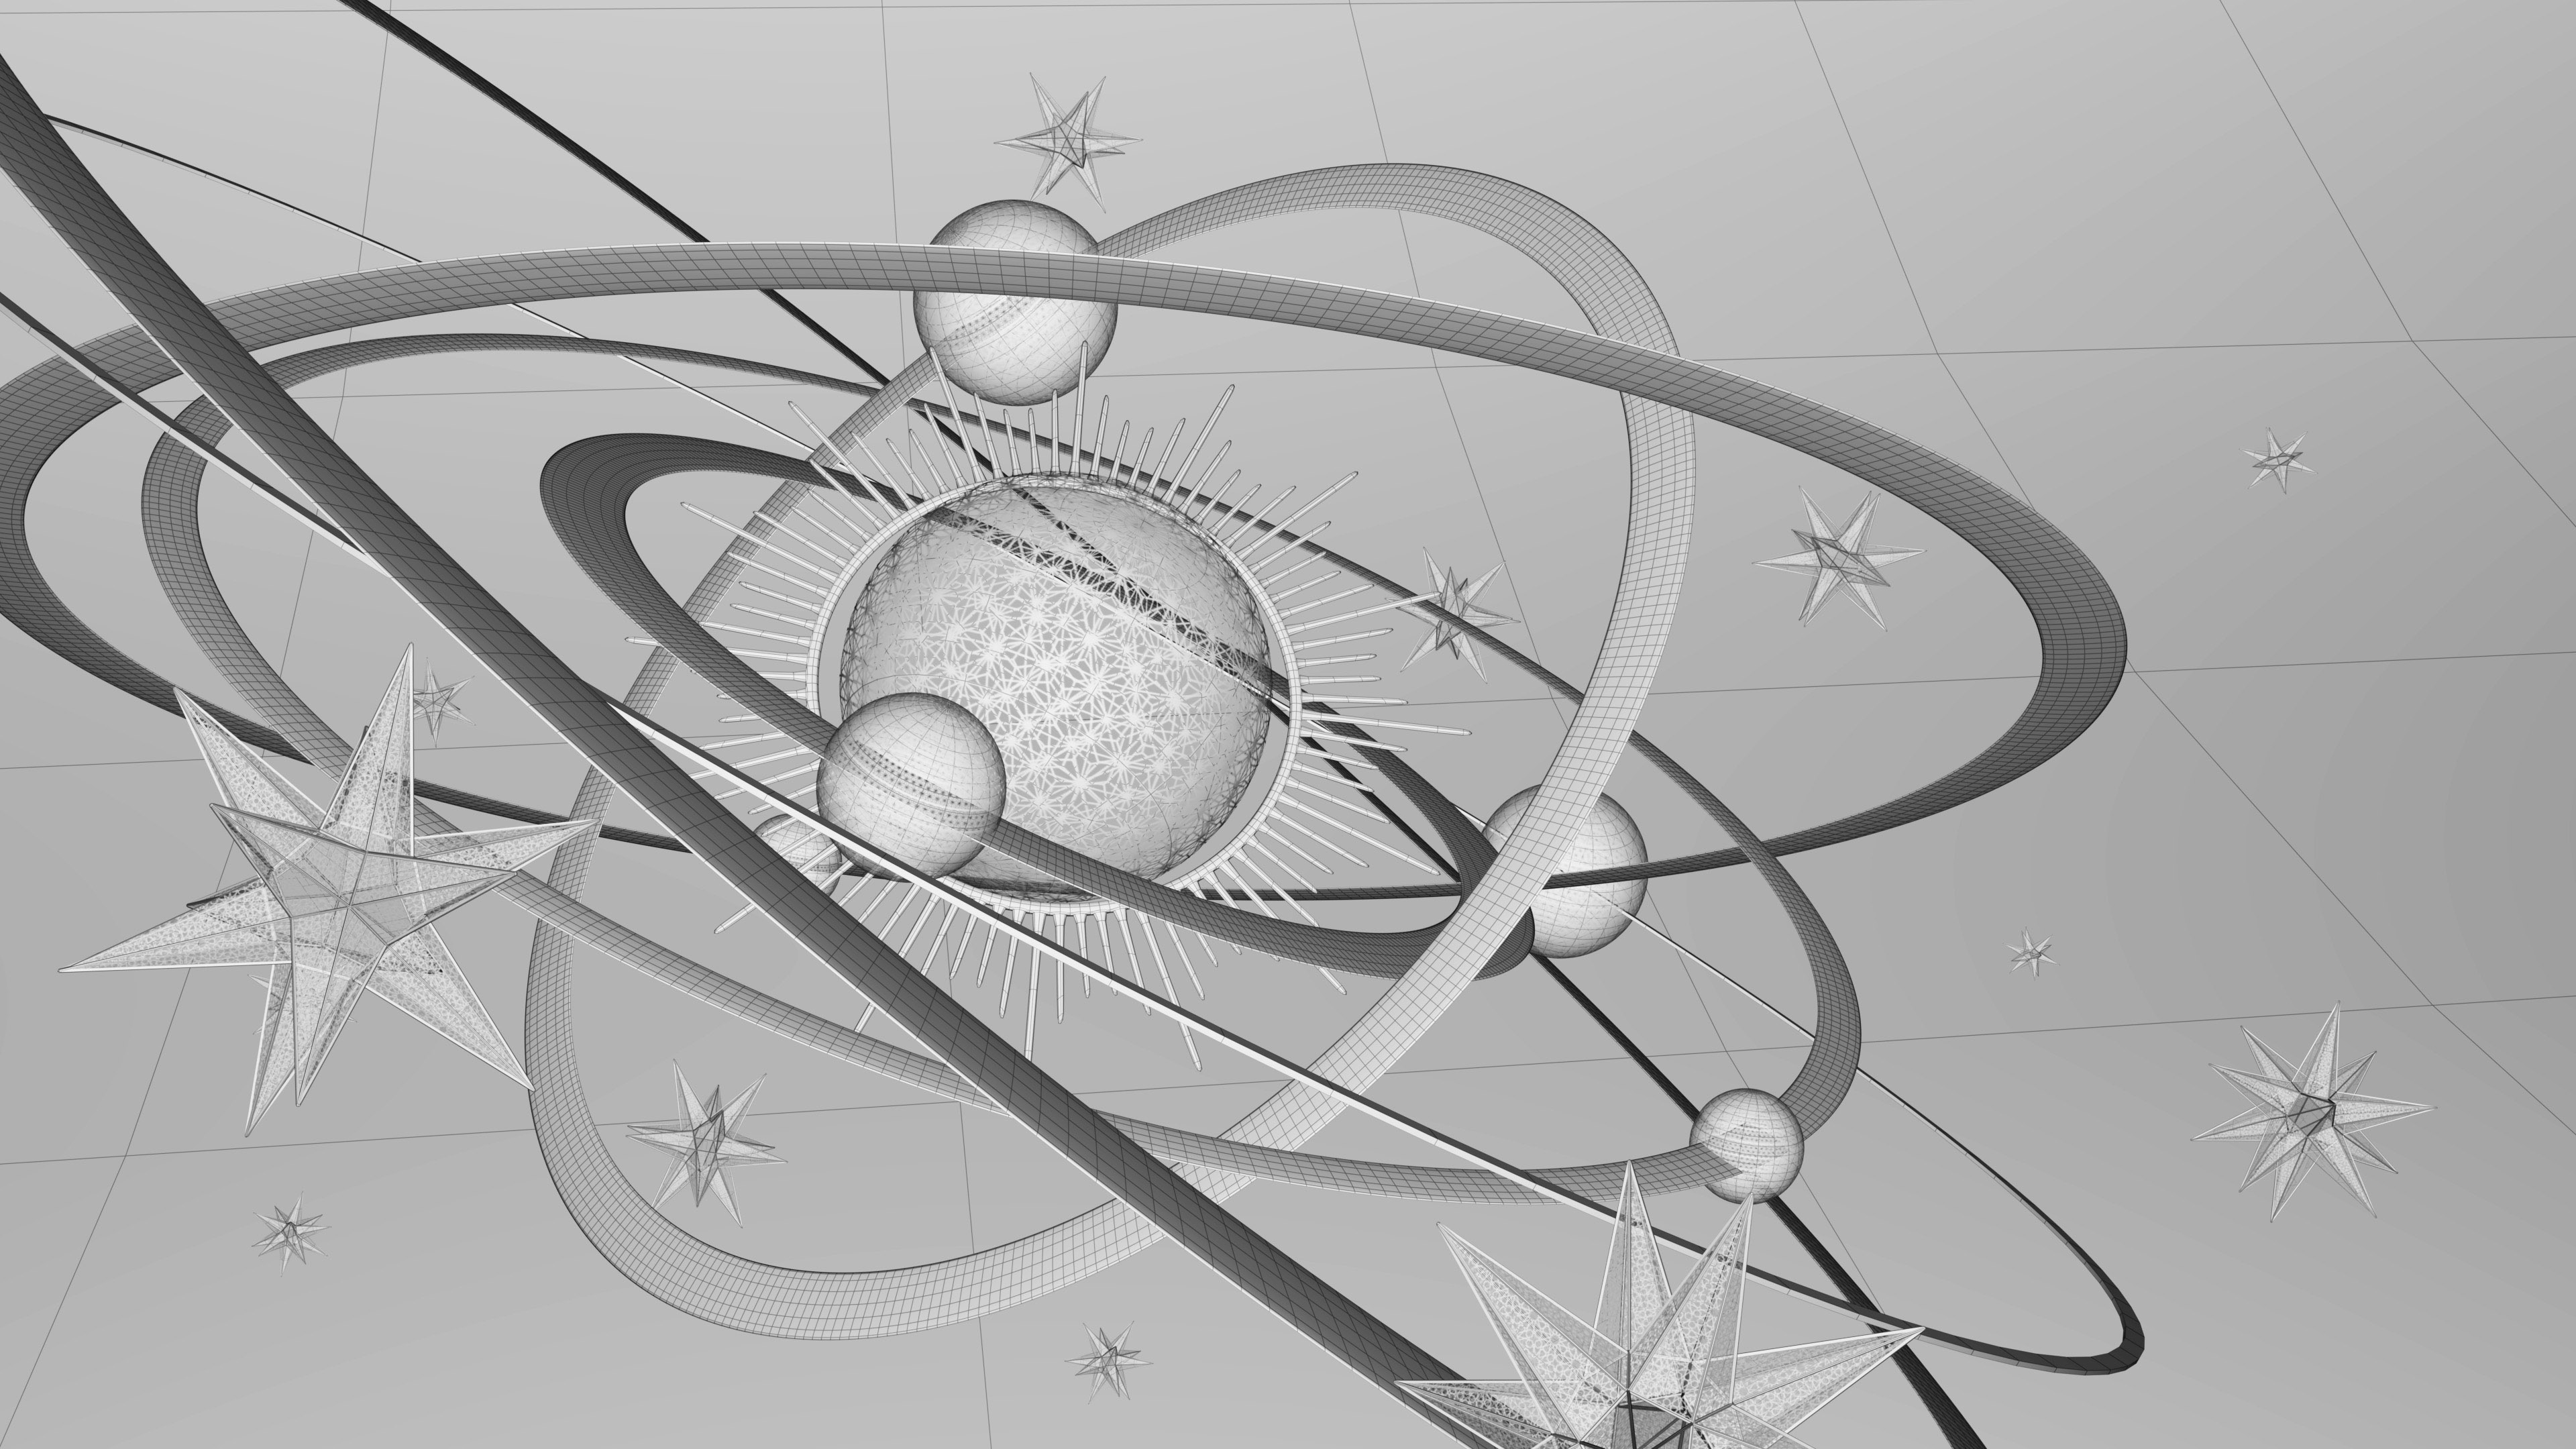
I wrote a Python user-interface in Maya to generate a custom astrolabe, or armillary sphere. I then textured it in Substance Painter, animated it, and rendered the animation using Renderman.
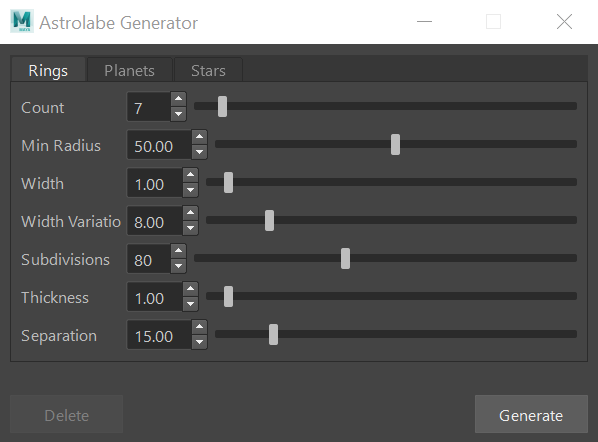
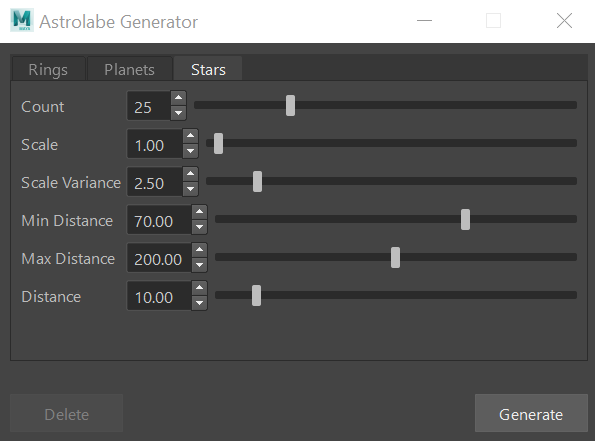
Below is the layout of the UI I wrote using Python. I also included a few examples of astrolabes I generated, which show how customizable the script is. The script requires a star model and a sun model to be placed in the scene, but everything else is generated from scratch. The delete button is only activated when the astrolabe exists in the scene.
|
 |
 |

|
 |
 |
 |
|
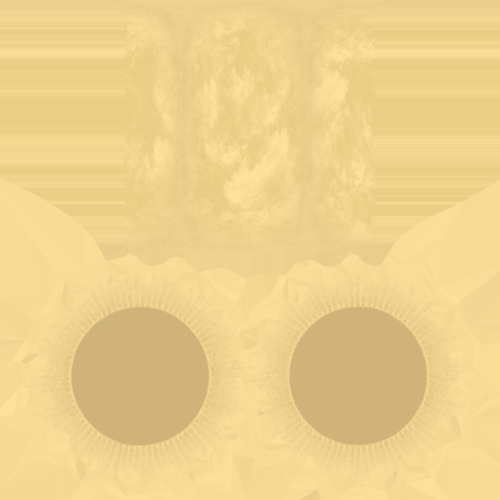
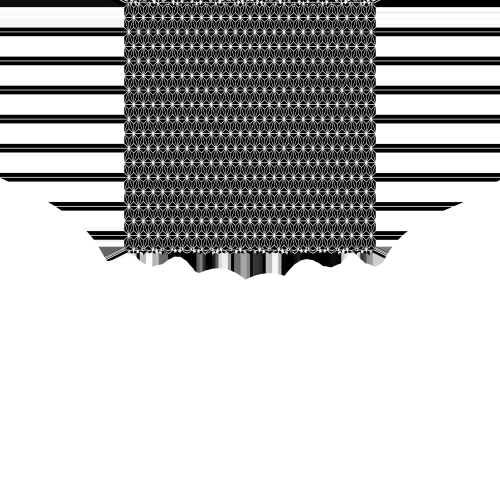
I used Substance Painter to texture the Astrolabe I generated. Here are a few of the texture maps, specifically for the sun model. I used alpha maps to add intricate patterns to the simple models.

|
 |
 |
If you want to try out the code, download all the files from the link below. Create a "qt_dev" folder in the Documents/Maya/Scripts location and copy the armillarySphere.py file and the matrix_ui folder into that location. Launch Maya. Import the star.fbx and sun.fbx files into your maya scene, and do not rename them. The stars tab will not work if these models are not in the scene and properly named.
Download all code and modelsOpen the script editor using either Windows/ General Editors/ Script Editor, or clicking the shortcut in the bottom right of the screen. Add the following code into the Python tab. Make sure to edit the file path accurately with your username. Run the code using the button outlined below in red.
